2020年02月25日
How to Install Both VXDIAG GM GDS2 and Tech2Win
Here vxdiagshop.com provides you the easiest way to install both GDS2 & Tech2Win of vxdiag vcx nano gm on Windows 7 operating system without VMware.
We have another two videos to install GDS2 and Tech2win software separately which is more difficult than this guide.
install vxdiag gm gds2 v2019 https://youtu.be/TfSXyxmMEzU
install vxdiag gm tech2win https://youtu.be/d3ppT1r7nxk
Main steps:
1.Install Tech2Win
2. Install GDS2
3. Install VX Manager
4. Install Device Manager
5. Run Tech2Win
6. Run GDS2
1. Install Tech2Win
Open software CD


Open Tech2Win folder and run AutoInstall

Install wizard for GM MDI software 8.3.103.26 until complete

Select Install this driver software anyway

Install Tech2Win software completed
2.Install GDS2


Open GDS2AutoInstall folder and run GDS2AutoInstall

Press Start button and wait for 20 minutes to install setup and database until gds2 software installation completed

3.Install VX manager

Run VX Manager driver

Select components: Passthru J2534 and GM GDS/Tech2Win
VX manager installation completed

Uncheck Run VX Manager and Visit Website
4.Install device driver


Detect device driver

Open Computer device manager to check device driver


Run VX Manager to view device version and authorization
5.Run Tech2Win

Run Tech2Win software on desktop, select North American

system initialization
Run software and then close the tech2win
Restart computer!!!
Run Tech2Win and select North American again

Now Tech2Win software is ready to use


6.Run GDS2


Run GDS2 software and select software language

Enter Diagnostics


Select device type as MDI2 and connect

Software automatically detect vehicle VIN, click Enter for diagnosis


Done.
Posted by jobdii at
17:29
│Comments(0)
2020年01月08日
SVCI 2020 "mfc110u.dll is missing"エラーの解決方法
Jobdii.jpのお客様からのフィードバック:SVCI 2020ツールが機能せず、「mfc110u.dllがコンピューターにないため、プログラムを開始できません。この問題を解決するためにプログラムを再インストールしてください」というエラーメッセージを取得します。

ここでは、Jobdii.jpの技術チームがソリューションを提供します。
方法1:
パッチを実行します。
デスクトップのSVIC 2020ソフトウェアアイコンを右クリック->プロパティ->ファイルの場所を開く->内部の4つのプログラムを実行します。
方法2
このパッチをダウンロードして実行します。
https://mega.nz/#!YUpgTIrB!ewMLqDLJ_gmoteaX-uBRj5TwE-jwqOxd7WIvTIdBai0
ここでは、Jobdii.jpの技術チームがソリューションを提供します。
方法1:
パッチを実行します。
デスクトップのSVIC 2020ソフトウェアアイコンを右クリック->プロパティ->ファイルの場所を開く->内部の4つのプログラムを実行します。
方法2
このパッチをダウンロードして実行します。
https://mega.nz/#!YUpgTIrB!ewMLqDLJ_gmoteaX-uBRj5TwE-jwqOxd7WIvTIdBai0
タグ :SVCI 2020
2019年11月19日
更新後にXentry Not Benz C6 VCIを認識しないようにするにはどうすればよいですか?
Problem:
Hi, I need engineering help, the allscanner vxdiag benz c6 has stopped working.
After vci firmware update.
Xentry will not recognized
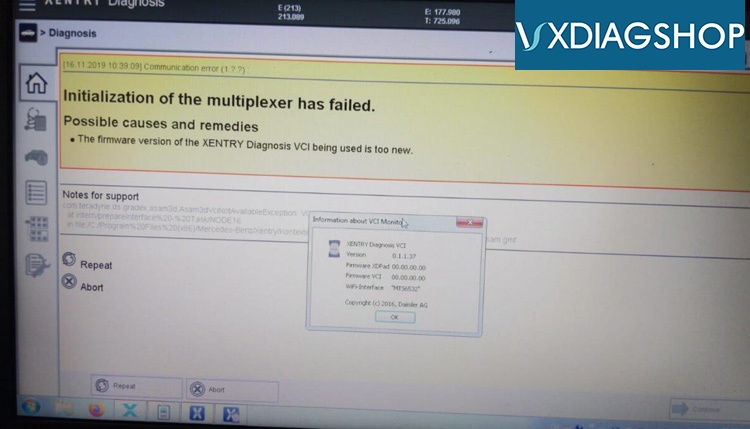
Solution:
As the error indicated that the firmware version of the Xentry VCI is too new.
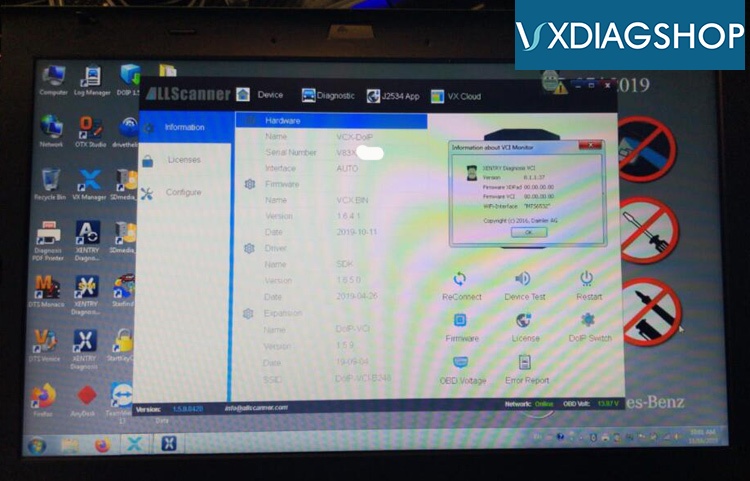
Result:
I have fixed it, lots of re-configuring and rolling back the vci drivers.
It is almost the same as installing new hard drive.
1. Mercedes benz partition. You have to update vci firmware vx manager.
Reboot.
Start mercedes vci manager and select the proper xentry software version mine is 2019.7.
Then the mercedes benz c6 vci and xentry will communicate.
Hi, I need engineering help, the allscanner vxdiag benz c6 has stopped working.
After vci firmware update.
Xentry will not recognized
Solution:
As the error indicated that the firmware version of the Xentry VCI is too new.
Result:
I have fixed it, lots of re-configuring and rolling back the vci drivers.
It is almost the same as installing new hard drive.
1. Mercedes benz partition. You have to update vci firmware vx manager.
Reboot.
Start mercedes vci manager and select the proper xentry software version mine is 2019.7.
Then the mercedes benz c6 vci and xentry will communicate.
タグ :vxdiag benz c6
Posted by jobdii at
16:32
│Comments(0)
2019年09月03日
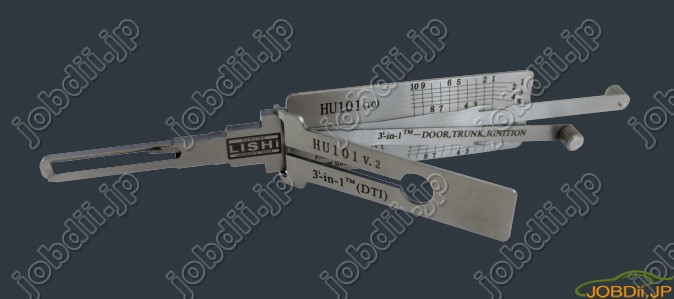
Lishi Ford HU101ロックピックの使用方法
Lishi Ford HU101ロックピックには次の特性があります。
そして、シーケンスピッキングに関しては、Ford HU101ロックにうまく対処するために、2つの重要なルールが適用されることを覚えておく必要があります。
1.イギリスのように右ハンドル車の場合、フォードロックは反時計回りにピックして開きます。
2.米国のように左ハンドル車の場合、Ford HU101ロックは時計回りにピックして開きます。
- 5 xキーの高さ
- 10 xウェーハポジション
- スタガードスプリングポジション
- プラグ上部は5 xウェーハがあり、プラグ下部は5 xウェーハがあります。
そして、シーケンスピッキングに関しては、Ford HU101ロックにうまく対処するために、2つの重要なルールが適用されることを覚えておく必要があります。
1.イギリスのように右ハンドル車の場合、フォードロックは反時計回りにピックして開きます。
2.米国のように左ハンドル車の場合、Ford HU101ロックは時計回りにピックして開きます。
2019年07月09日
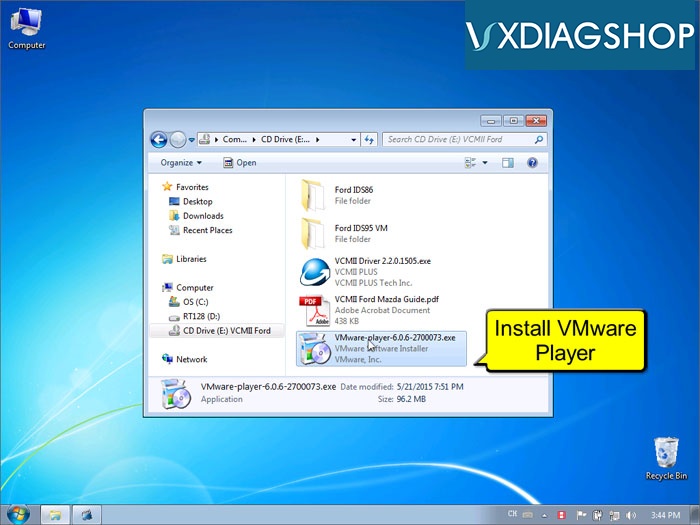
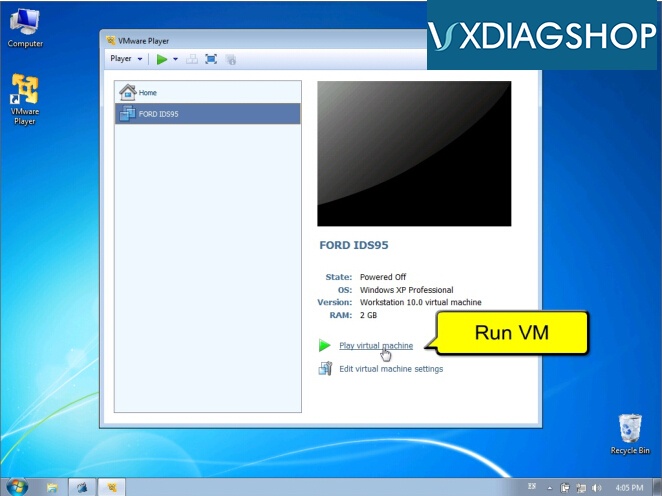
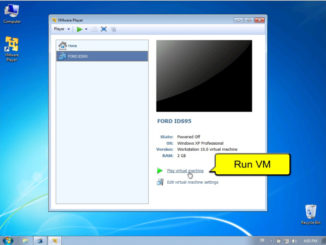
Free Download VMware Player 6.0.6 for VXDIAG Scanners
VXDIAGSHOP here provides VMware Player 6.0.6 download free in case someone needs it.
https://mega.nz/#!dEU3GApQ!WgKNuv3G691mGf8_lxZ9HLEeNmAHUJqIB3DCnKfTq5U
 http://blog.vxdiagshop.com/wp-content/uploads/2018/12/vxdiag-ford-ids-vmware-7-300x225.jpg 300w, http://blog.vxdiagshop.com/wp-content/uploads/2018/12/vxdiag-ford-ids-vmware-7-326x245.jpg 326w, http://blog.vxdiagshop.com/wp-content/uploads/2018/12/vxdiag-ford-ids-vmware-7-80x60.jpg 80w" alt="vxdiag-ford-ids-vmware-7" width="662" height="496" />
What VXDIAG scanner software required to be loaded on virtual machine?
Older Ford IDS software i.e,
Older VXDIAG GM GDS2, i.e
Note:
Newer IDS V112 or above, newer GDS 2019.02 or above can be installed on native machine without VMware now.
All old and new vxdiag software can be download free here:
http://www.vxdiagshop.com/info/vxdiag-diagnostic-software-download-4048.html
Related post:
https://mega.nz/#!dEU3GApQ!WgKNuv3G691mGf8_lxZ9HLEeNmAHUJqIB3DCnKfTq5U
http://blog.vxdiagshop.com/wp-content/uploads/2018/12/vxdiag-ford-ids-vmware-7-300x225.jpg 300w, http://blog.vxdiagshop.com/wp-content/uploads/2018/12/vxdiag-ford-ids-vmware-7-326x245.jpg 326w, http://blog.vxdiagshop.com/wp-content/uploads/2018/12/vxdiag-ford-ids-vmware-7-80x60.jpg 80w" alt="vxdiag-ford-ids-vmware-7" width="662" height="496" />What VXDIAG scanner software required to be loaded on virtual machine?
Older Ford IDS software i.e,
Older VXDIAG GM GDS2, i.e
Note:
Newer IDS V112 or above, newer GDS 2019.02 or above can be installed on native machine without VMware now.
All old and new vxdiag software can be download free here:
http://www.vxdiagshop.com/info/vxdiag-diagnostic-software-download-4048.html
Related post:
How to Setup VXDIAG VCX NANO old Ford IDS on VMware
VXDIAG VCX NANO Ford IDS Another Review on VMware
VXDIAG VCX NANO Ford IDS V112 verified working on Windows 8 (Native Install)
Install VXDIAG VCX NANO GM V2019.02 Software (native install)
タグ :VXDIAG scanner
2019年04月18日
Toyota Techstream Cable Which Firmware is better?
Toyota diagnostic software Techstream: Mini VCI vs. VXDIAG VCX NANO Toyota vs. Mangoose Toyota
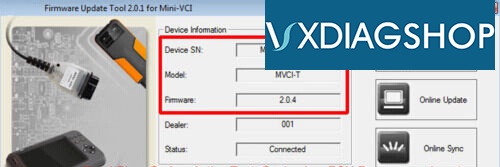
1. Xhorse Mini VCI Cable
Original Xhorse MINI VCI has newer firmware 2.0.4. But you can't buy a real one any more. The real Xhorse one is out of production. You can still find 2.0.4 clone on the aftermarket.
Version 2.0.4 will connect and read codes. It is very slow.
2. Mini VCI Clone
Many of us have gone with using the Mini VCI cable with Toyota Techstream software, and it’s mentioned as an improved variation on this theme. Need a PC or laptop.
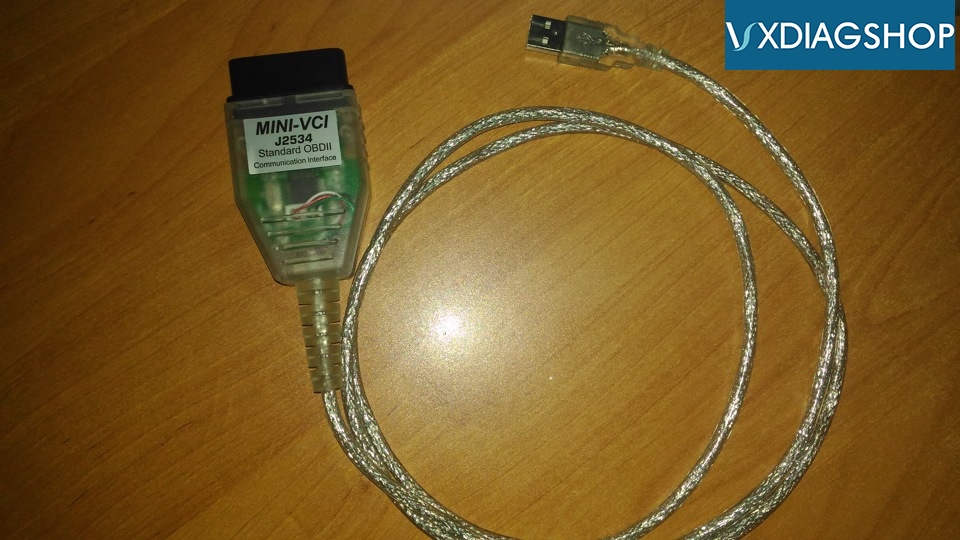
The cheap Mini VCI uses firmware 1.4.1.
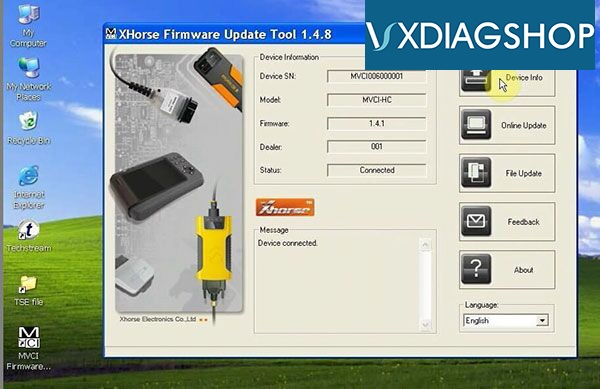
– Cheap Xhorse-made knock-off
– Latest Techstream v13 (till April 2019)
– High reliability using SMD chip, and certified by CE and FCC
– ALL communication protocols supported for Toyota (1996 – latest):
K-Line ISO 9141/KWP 2000 ISO 14230-4/SAE J1850 PWM/SAE J1850 VPW/CAN 2.0B ISO 11898 /CAN ISO 15765-4
Note:
The knock off cables use 1.4.1 or 1.4.6 (latest). The “real” cables use 2.0.1 or 2.0.4 (latest). They are all fake of course but the good fakes use the same firmware as the real Xhorse cable. The 1.4.1 firmware does not support active tests. The cable will work on 10 year old Toyotas like some in the GS forum have said but they will not work on the 2011 Prius as some on PriusChat said.
3. VXDIAG VCX NANO for Toyota
The VXDIAG VCX Nano uses it’s own firmware. It connects and reads codes much quicker than a Mini VCI cable.
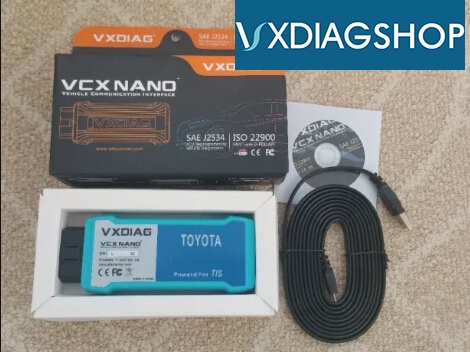
its worth an additional 50 dollars for the VXDiag version.
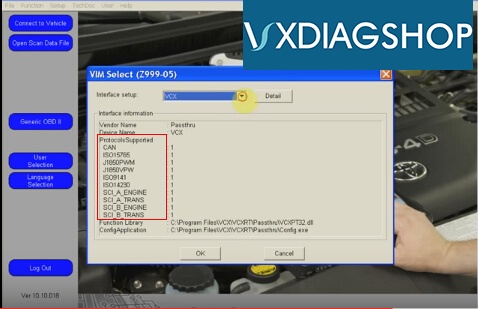
-Full protocols
– better hardware design than mini vci and Denso IT2
– multi-system: WINDOWS XP and Windows 7/8/10
– multilanguage: Chinese, English, French, Italian, Spanish, German, ect.
– WIFI wireless connection
– 12V and 24V communication
– model: diagnostic test for heavy truck and diesel models till 2016
– VCX is a standard Passthru programming tool, which can do online ECU programming
4. Mongoose for Toyota
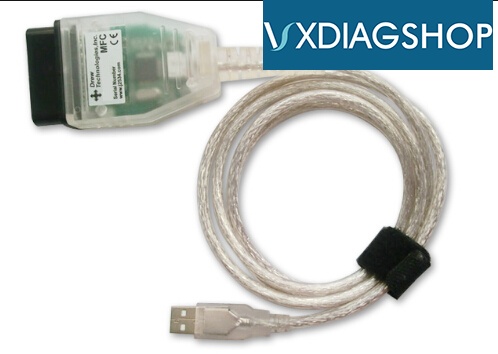
If your budget extends to $495, you can buy a Drew Technologies Mongoose Pro, which is a unit actually tested by Toyota and officially supported for use with Techstream. If you are looking to spend less, go for mangoose MFC clone cable for Toyota. It uses different driver as mini vci but function the same.
Conclusion:
Different cables use different drivers
Mini vci/mangoose clone cable is more suitable for the green hand to do basic diagnosis
VXDIAG NANO for Toyota at a reasonable price, is the best choice for individual users and professional repairing men with better hardware design and powerful function (ECU diagnosis & programming, key programming).
1. Xhorse Mini VCI Cable
Original Xhorse MINI VCI has newer firmware 2.0.4. But you can't buy a real one any more. The real Xhorse one is out of production. You can still find 2.0.4 clone on the aftermarket.
Version 2.0.4 will connect and read codes. It is very slow.
2. Mini VCI Clone
Many of us have gone with using the Mini VCI cable with Toyota Techstream software, and it’s mentioned as an improved variation on this theme. Need a PC or laptop.
The cheap Mini VCI uses firmware 1.4.1.
– Cheap Xhorse-made knock-off
– Latest Techstream v13 (till April 2019)
– High reliability using SMD chip, and certified by CE and FCC
– ALL communication protocols supported for Toyota (1996 – latest):
K-Line ISO 9141/KWP 2000 ISO 14230-4/SAE J1850 PWM/SAE J1850 VPW/CAN 2.0B ISO 11898 /CAN ISO 15765-4
Note:
The knock off cables use 1.4.1 or 1.4.6 (latest). The “real” cables use 2.0.1 or 2.0.4 (latest). They are all fake of course but the good fakes use the same firmware as the real Xhorse cable. The 1.4.1 firmware does not support active tests. The cable will work on 10 year old Toyotas like some in the GS forum have said but they will not work on the 2011 Prius as some on PriusChat said.
3. VXDIAG VCX NANO for Toyota
The VXDIAG VCX Nano uses it’s own firmware. It connects and reads codes much quicker than a Mini VCI cable.
its worth an additional 50 dollars for the VXDiag version.
-Full protocols
– better hardware design than mini vci and Denso IT2
– multi-system: WINDOWS XP and Windows 7/8/10
– multilanguage: Chinese, English, French, Italian, Spanish, German, ect.
– WIFI wireless connection
– 12V and 24V communication
– model: diagnostic test for heavy truck and diesel models till 2016
– VCX is a standard Passthru programming tool, which can do online ECU programming
4. Mongoose for Toyota
If your budget extends to $495, you can buy a Drew Technologies Mongoose Pro, which is a unit actually tested by Toyota and officially supported for use with Techstream. If you are looking to spend less, go for mangoose MFC clone cable for Toyota. It uses different driver as mini vci but function the same.
Conclusion:
Different cables use different drivers
Mini vci/mangoose clone cable is more suitable for the green hand to do basic diagnosis
VXDIAG NANO for Toyota at a reasonable price, is the best choice for individual users and professional repairing men with better hardware design and powerful function (ECU diagnosis & programming, key programming).
Posted by jobdii at
17:39
│Comments(0)
2018年12月29日
Lonsdor K518ISEルノーメガネ2 3 4:スマートキーカードを追加した
Lonsdor K518ISEテストレポート:
Renault Megane2 3 4が新しいキーを追加しました。
Lonsdor k518とMegane 2:
はい。Renault Megane 2 2008年、新しい鍵を追加する OK
カードスマートキー

Lonsdor k518とMegane 3:
Megane3 2014用のLonsdorで既に行われています。
Lonsdor k518とMegane 4:
Megane4はAvdiによって作られるだけではありません…
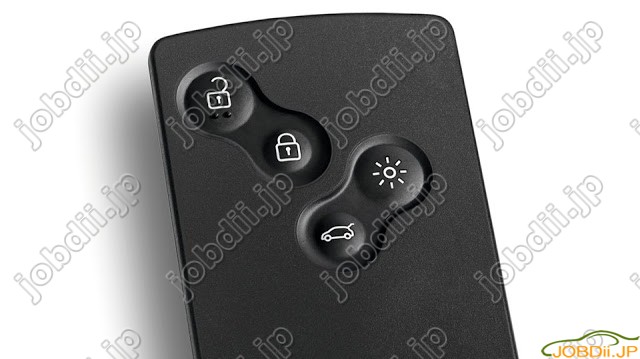
しかし今、MEGANE 4はlonsdorで作成されました。
4つのボタンでカードを作りました。
以下はMegan 4カードの外観です。

結論:
Lonsdor K518iseとMegane 2:はい!
Lonsdor K518iseとMegane 3:はい!
Lonsdor K518iseとMegane 4:はい!
Lonsdor K518ISE:
http://www.jobdii.jp/wholesale/lonsdor-k518ise-programmer-ske-lt-smart-key-emulator.html
Renault Megane2 3 4が新しいキーを追加しました。
Lonsdor k518とMegane 2:
はい。Renault Megane 2 2008年、新しい鍵を追加する OK
カードスマートキー
Lonsdor k518とMegane 3:
Megane3 2014用のLonsdorで既に行われています。
Lonsdor k518とMegane 4:
Megane4はAvdiによって作られるだけではありません…
しかし今、MEGANE 4はlonsdorで作成されました。
4つのボタンでカードを作りました。
以下はMegan 4カードの外観です。
結論:
Lonsdor K518iseとMegane 2:はい!
Lonsdor K518iseとMegane 3:はい!
Lonsdor K518iseとMegane 4:はい!
Lonsdor K518ISE:
http://www.jobdii.jp/wholesale/lonsdor-k518ise-programmer-ske-lt-smart-key-emulator.html
タグ :Lonsdor K518ise
2018年11月20日
OBDSTAR X300 DP PlusでVW Caravelle 2010リモートキーを作成する
方法:VVDIキーツールとOBDSTAR X300 DP Plusを使用して、VW Caravelle 2010でリモートを生成する方法およびリモートをプログラマーする方法。
使用デバイス:
元のリモートキー
リモートを生成する用のXhorse vvdiキーツール
リモートをプログラムする用のOBDSTAR X300 DP plus
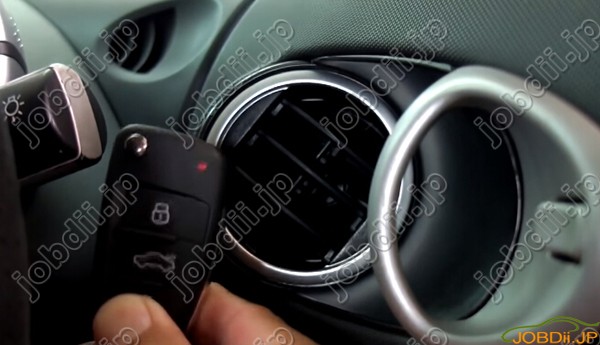
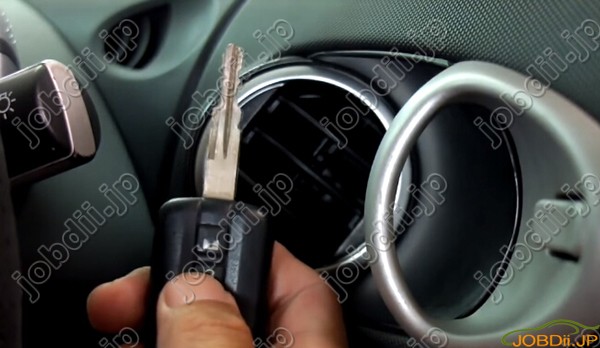
新しいリモートキー2ボタン
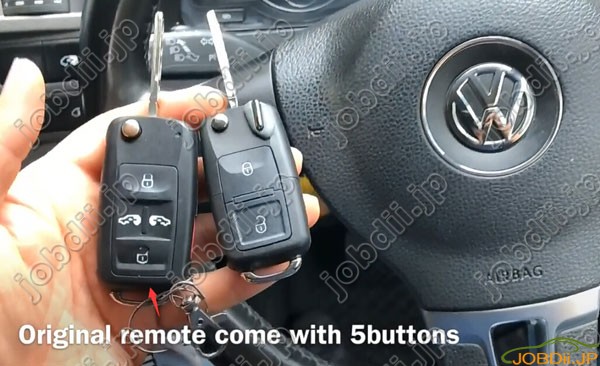
オリジナルリモートには5つのボタンが付いています
新しいリモコンはここでは2つのボタンだけ生成されます
手順1:VVDIキーツールでリモートを生成する
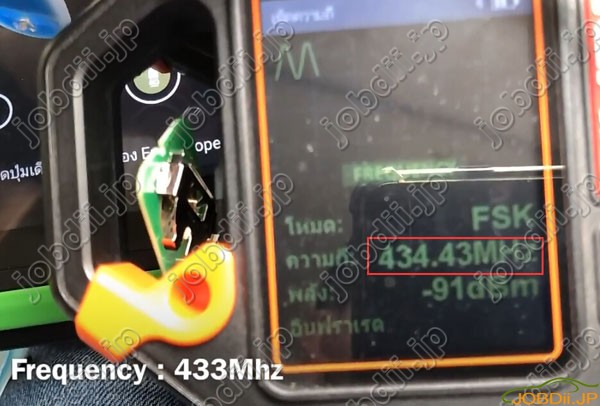
最初の元のリモート周波数をテストする:433MHz
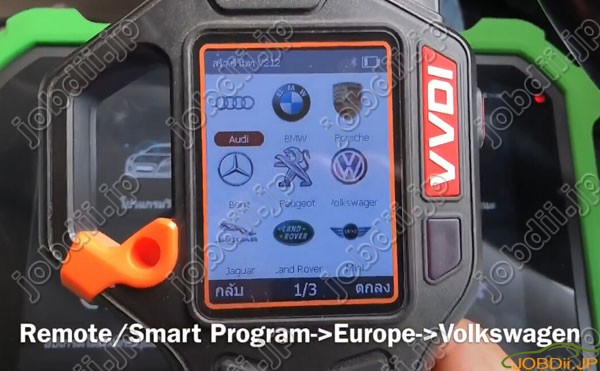
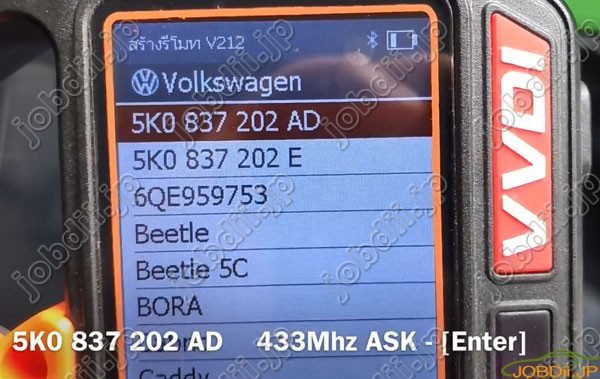
VVDIキーツールで、リモート/スマートプログラム - >ヨーロッパ - >フォルクスワーゲン - > 5K0 837 202 AD 433MHz ASKを選択します。
リモートモジュールをケーブルで接続し、「生成」ボタンを押します

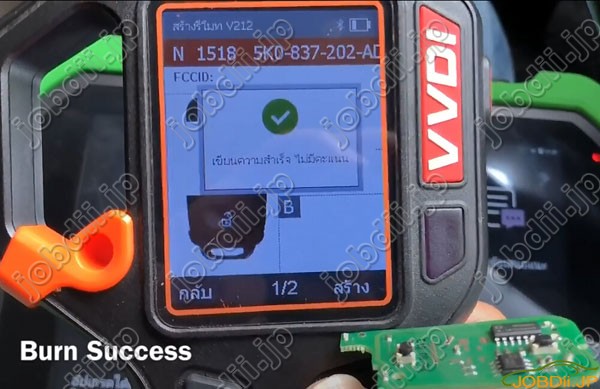
リモートを成功に生成します。
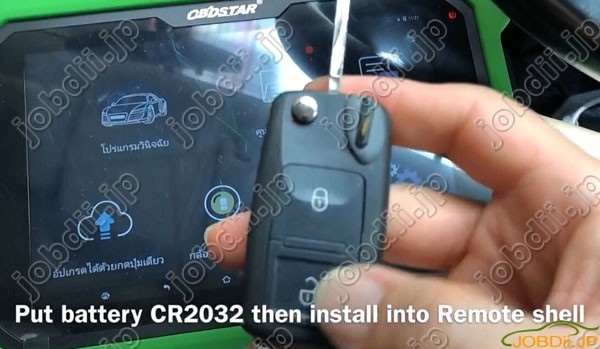
バッテリCR2032を入れ、リモートシェルに取り付けます。
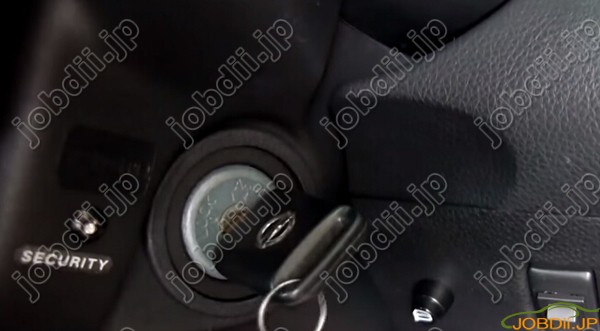
ステップ2:OBDSTAR X300 DP Plusでリモートをプログラムする
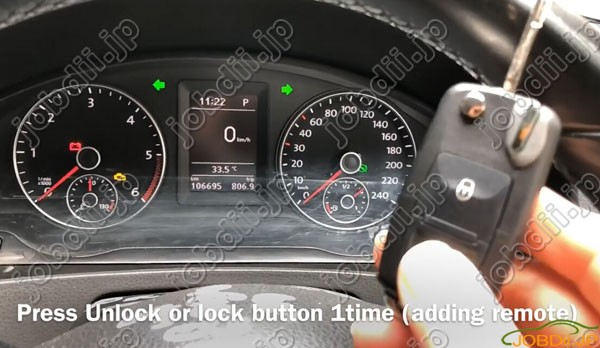
元のキーでイグニッションスイッチをオンにします。
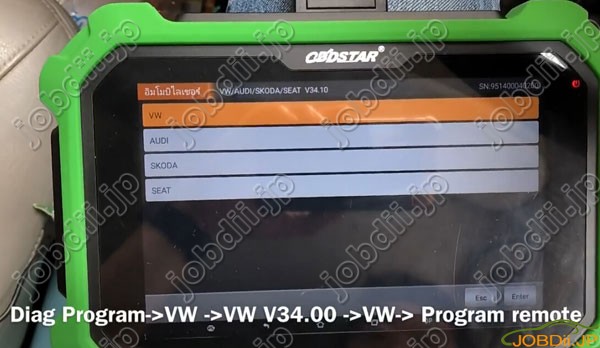
X300 DP plusでは、Diag Program-> VW-> VW V34.00-> VW-> Program remoteを選択します。
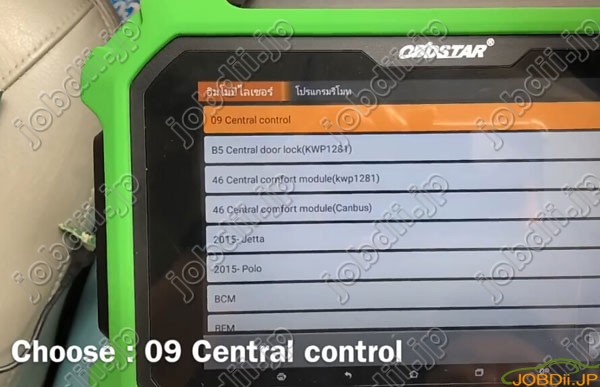
09-Central Control-> Program remoteを選択します。
UNLOCKまたはLOCKボタンを1回押して、リモコンを追加します。
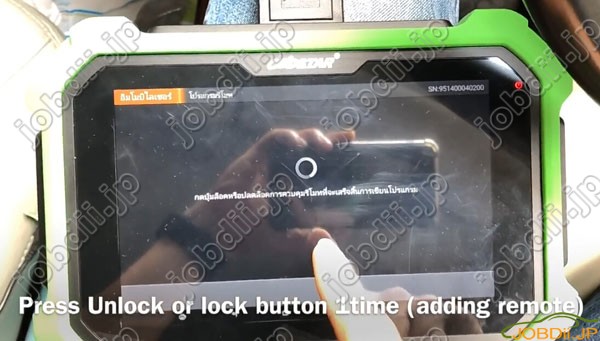
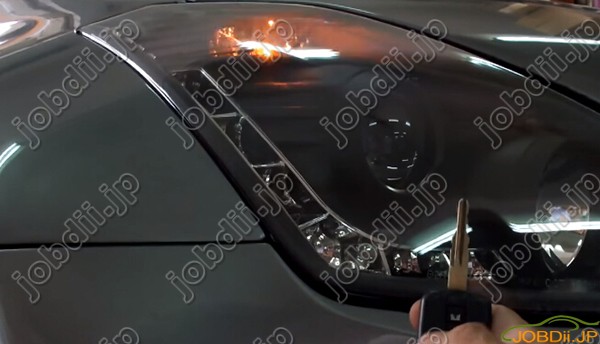
作成成功。
リモートをテストします。
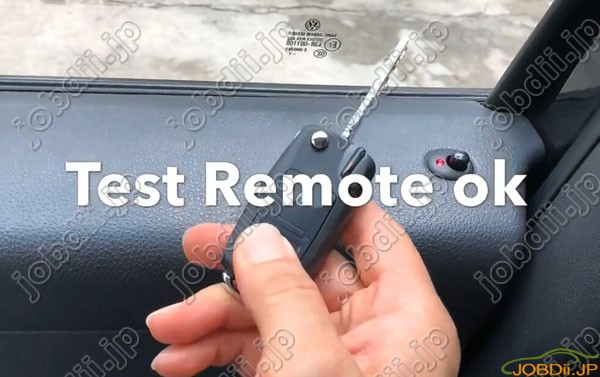
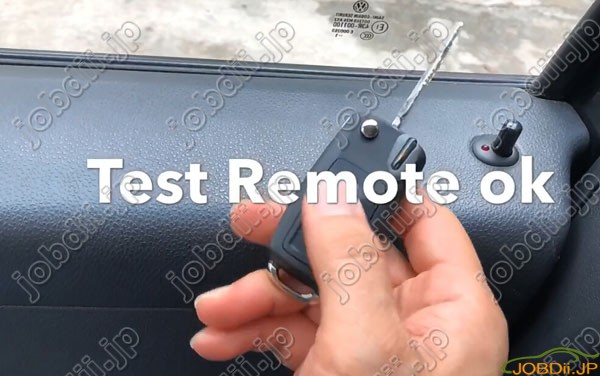
完了しました。
obdstar tool
使用デバイス:
元のリモートキー
リモートを生成する用のXhorse vvdiキーツール
リモートをプログラムする用のOBDSTAR X300 DP plus
新しいリモートキー2ボタン
オリジナルリモートには5つのボタンが付いています
新しいリモコンはここでは2つのボタンだけ生成されます
手順1:VVDIキーツールでリモートを生成する
最初の元のリモート周波数をテストする:433MHz
VVDIキーツールで、リモート/スマートプログラム - >ヨーロッパ - >フォルクスワーゲン - > 5K0 837 202 AD 433MHz ASKを選択します。
リモートモジュールをケーブルで接続し、「生成」ボタンを押します
リモートを成功に生成します。
バッテリCR2032を入れ、リモートシェルに取り付けます。
ステップ2:OBDSTAR X300 DP Plusでリモートをプログラムする
元のキーでイグニッションスイッチをオンにします。
X300 DP plusでは、Diag Program-> VW-> VW V34.00-> VW-> Program remoteを選択します。
09-Central Control-> Program remoteを選択します。
UNLOCKまたはLOCKボタンを1回押して、リモコンを追加します。
作成成功。
リモートをテストします。
完了しました。
obdstar tool
2018年08月13日
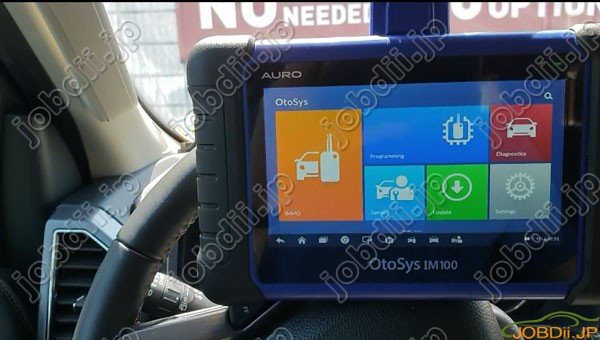
Auro OtoSys IM100 IM600で2018 Ford Expeditionスマートキーを作成する
Auro OtoSys IM100とIM600は2018年7月に2018年までのFordモデルIMMOキープログラミングを追加します。ここでは、Auro OtoSys IM100を使用して2018年のFord Expeditionにスマートキーをプログラムするためのデモガイドがあります。
メインケーブルでIM100を車両と接続します。
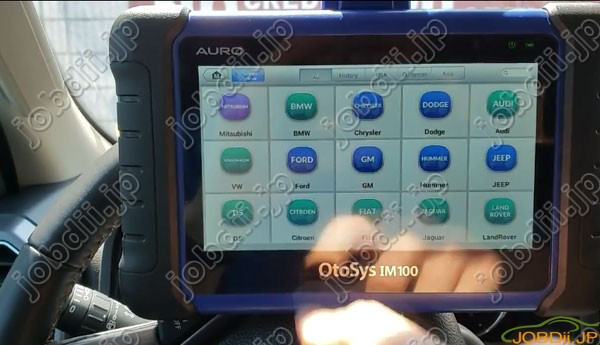
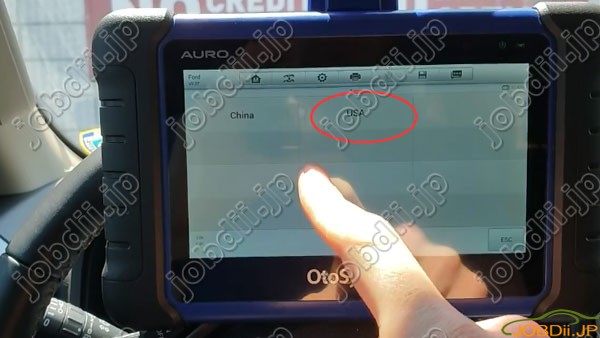
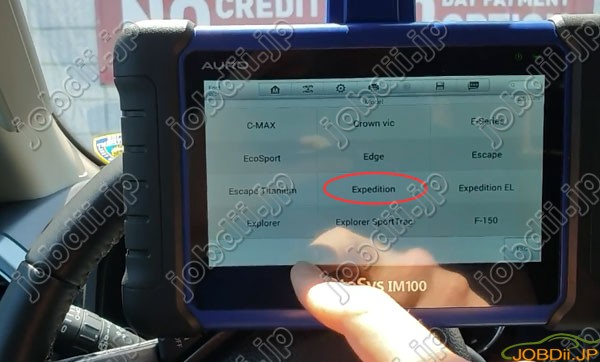
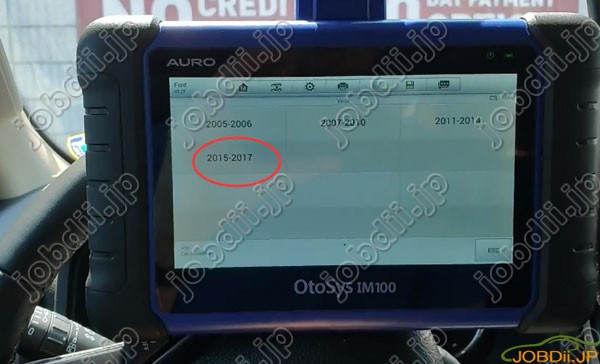
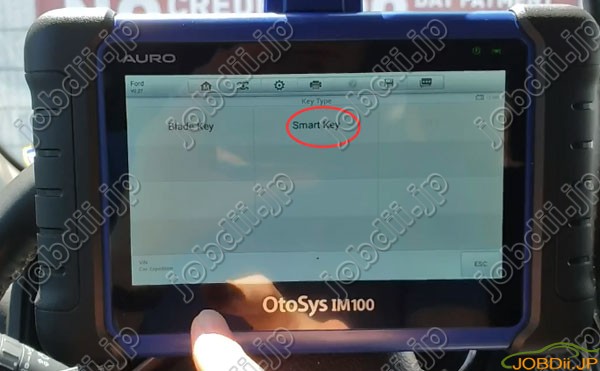
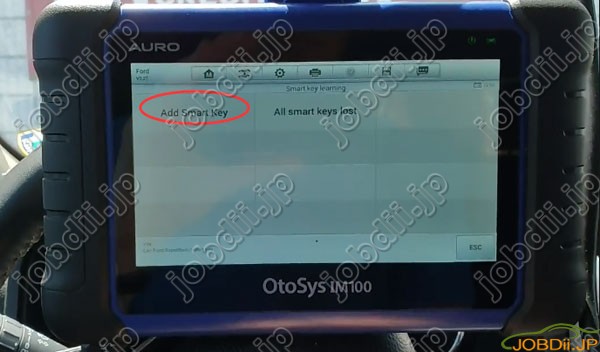
選択:IMMO-> Ford-> Manual Selection-> USA地域 - > Expedition - > 2015-2017->スマートキー - >キーレスシステム(CAN) - >スマートキーを追加
この手順では、既存のキーは消去されません。
イグニッションをONにします。
Auro IM100は、「テスターは車両エコと通信できません」というエラーを報告しました。

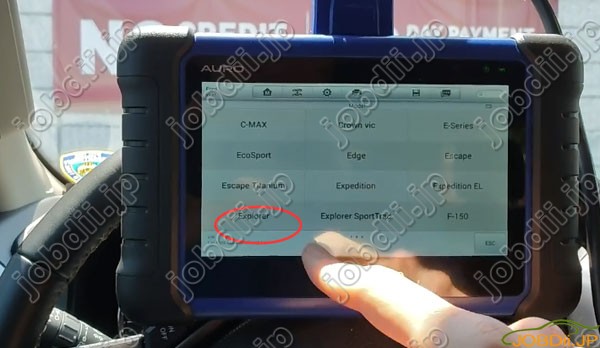
モデルを選択して接続をチェックします。このエラーはすべて発生します。だから私たちはエクスプローラから入ることを試みます。
選択:Ford-> Explorer-> 2015-2018-> Smart Key-> Keyless System(CAN)を選択 - >スマートキーを追加
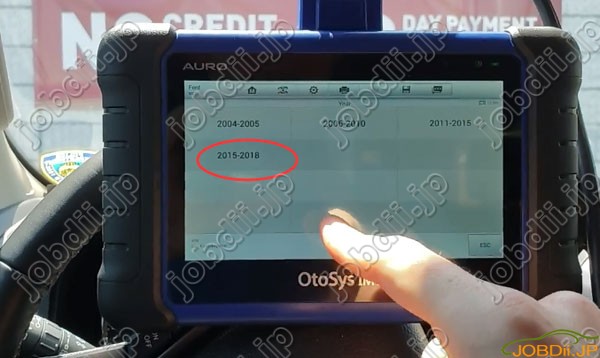
イグニッションスイッチをオンにします。
車両通信を確立します。
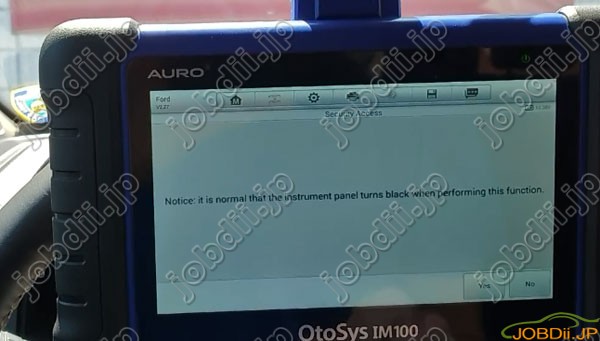
この機能を実行するとき、計器パネルが黒くなるのは正常です。
続行するにはYesを押します。
セキュリティにアクセスするのを待ちます。
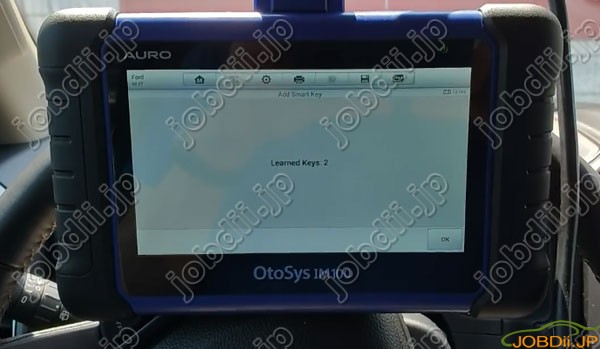
キーラーニング:2
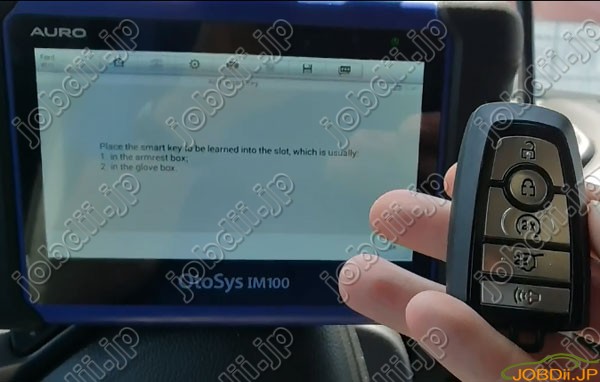
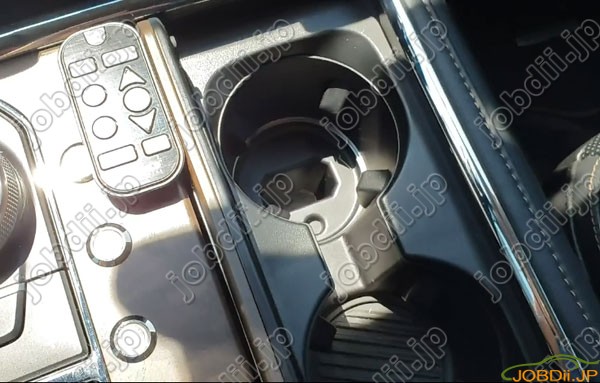
学習するスマートキーをスロットに挿入します。通常は次のとおりです。
1.アームレストボックス内。
2.グローブボックス内
キーが学習中
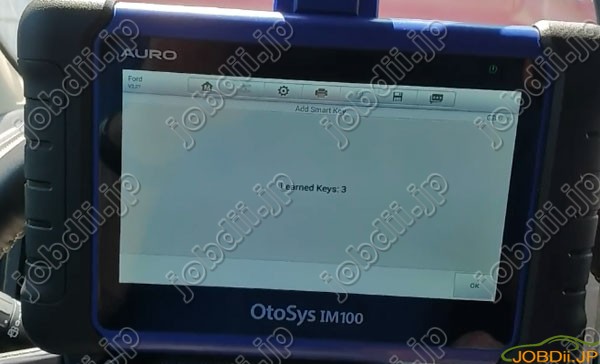
キーラーニング:3
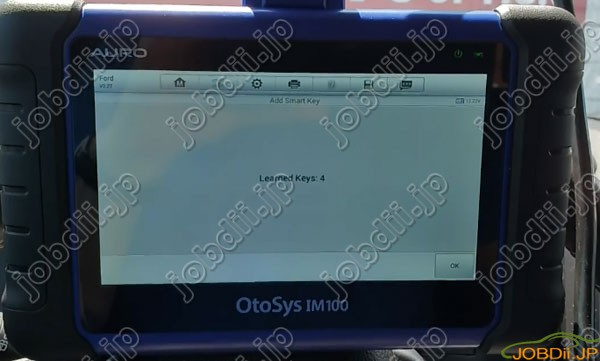
同じ手順に従って次のキーを習得します。
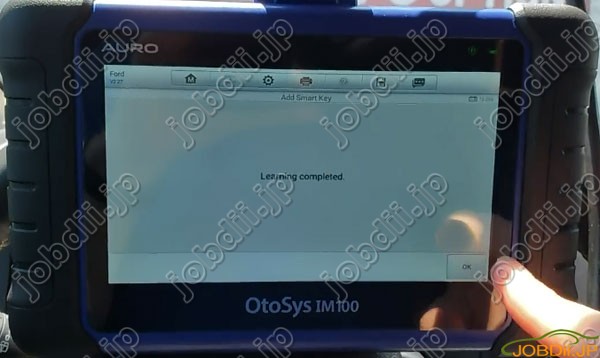
キーの学習が完了しました。

リモコンをテストして車両を始動します。
完了しました。
jobdii.jp
メインケーブルでIM100を車両と接続します。
選択:IMMO-> Ford-> Manual Selection-> USA地域 - > Expedition - > 2015-2017->スマートキー - >キーレスシステム(CAN) - >スマートキーを追加
この手順では、既存のキーは消去されません。
イグニッションをONにします。
Auro IM100は、「テスターは車両エコと通信できません」というエラーを報告しました。
モデルを選択して接続をチェックします。このエラーはすべて発生します。だから私たちはエクスプローラから入ることを試みます。
選択:Ford-> Explorer-> 2015-2018-> Smart Key-> Keyless System(CAN)を選択 - >スマートキーを追加
イグニッションスイッチをオンにします。
車両通信を確立します。
この機能を実行するとき、計器パネルが黒くなるのは正常です。
続行するにはYesを押します。
セキュリティにアクセスするのを待ちます。
キーラーニング:2
学習するスマートキーをスロットに挿入します。通常は次のとおりです。
1.アームレストボックス内。
2.グローブボックス内
キーが学習中
キーラーニング:3
同じ手順に従って次のキーを習得します。
キーの学習が完了しました。
リモコンをテストして車両を始動します。
完了しました。
jobdii.jp
2018年07月18日
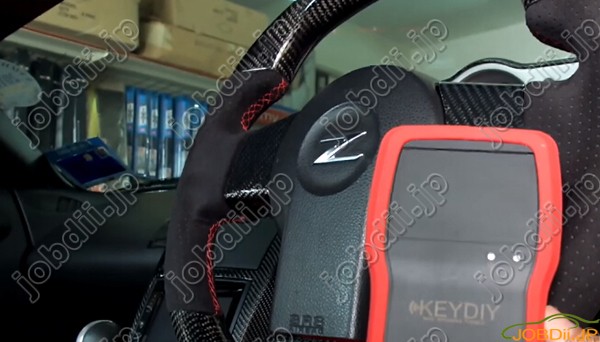
Keydiy KD900+でNissan Fairlady 350Zのリモートキーを作成する
KD900 +リモートメーカーのテストレポート:日産フェアレディ350Zに新しいリモートを作成しました!
車:日産フェアレディ350Z

オートキープログラマ:KD900 +モバイルKEYDIYリモートメーカ
ソース:http://www.jobdii.jp/wholesale/keydiy-kd900-plus-remote-maker.html
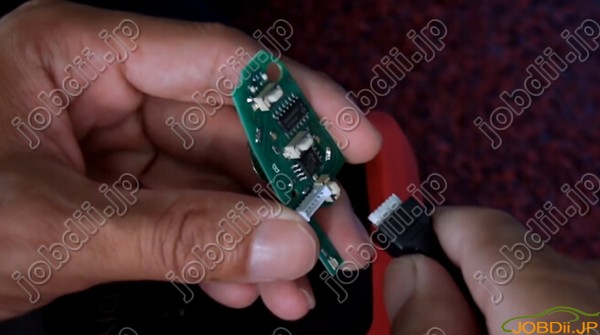
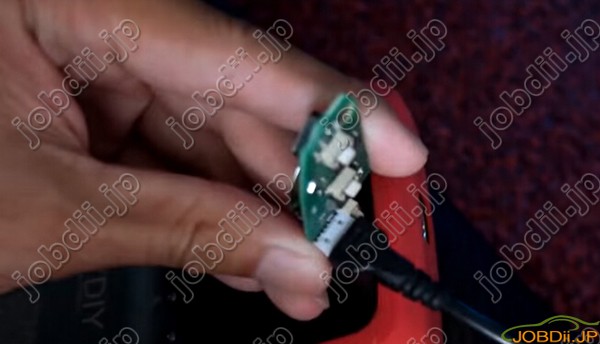
接続:チップをKD900デバイスに接続します。
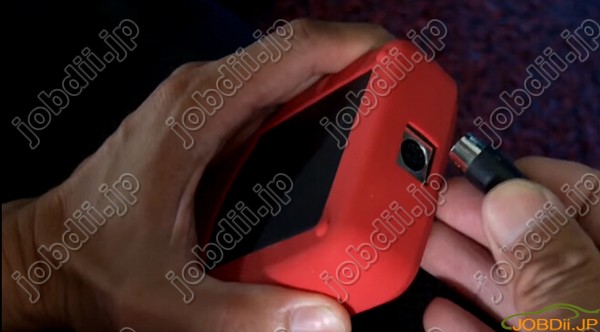

KD900 +ソフトウェア:Mobile KD KEYDIY
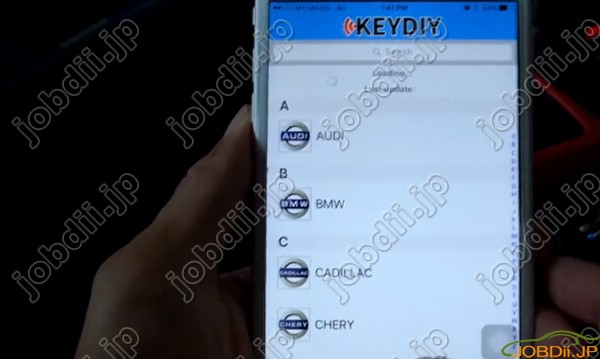
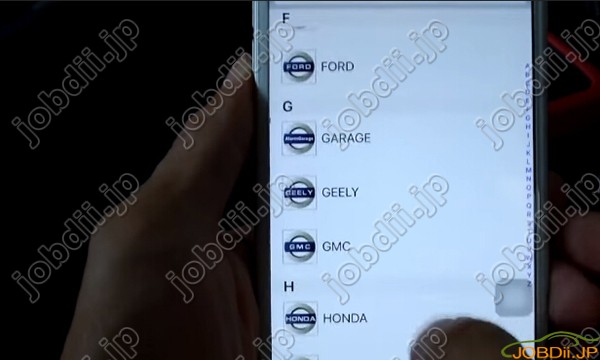
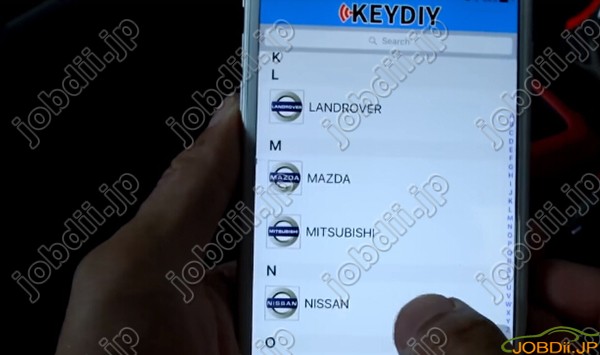
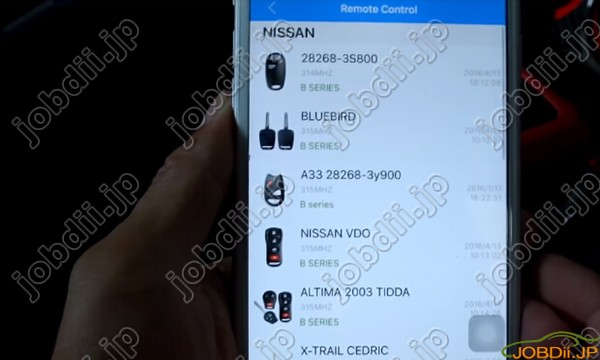
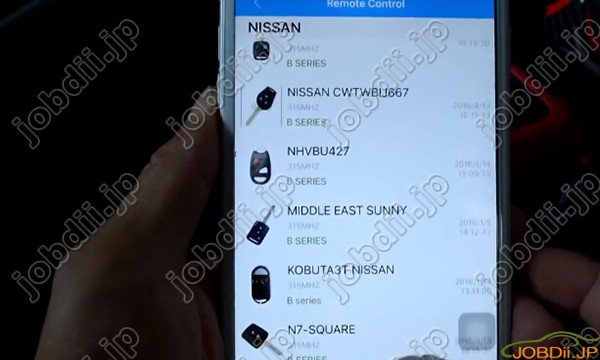
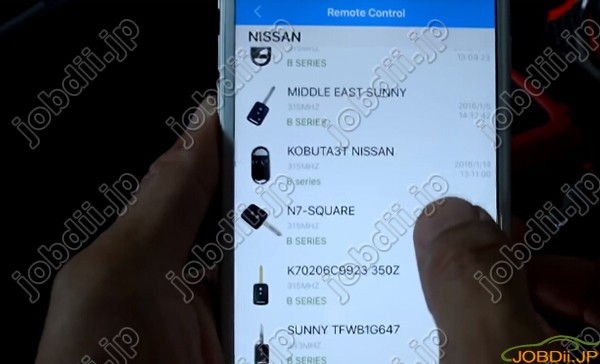
車のオプション:日産
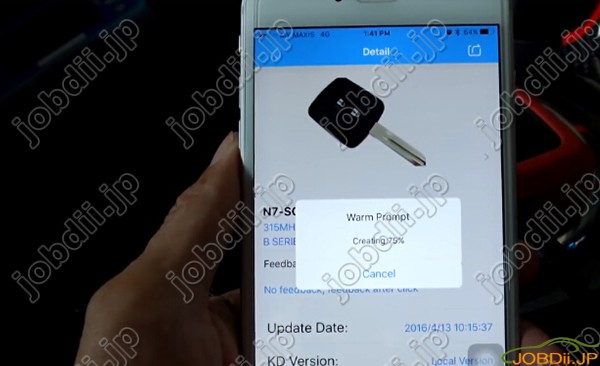
リモートコントロール:N7-SQUARE 315MHz Bシリーズ
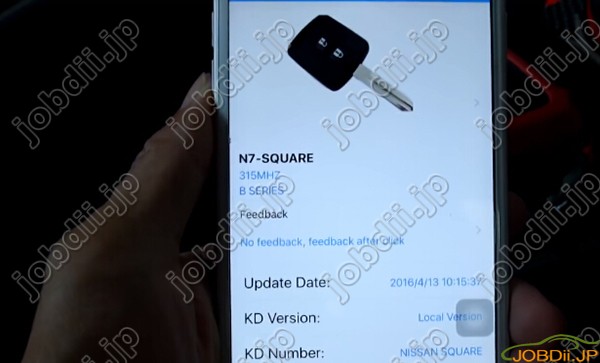
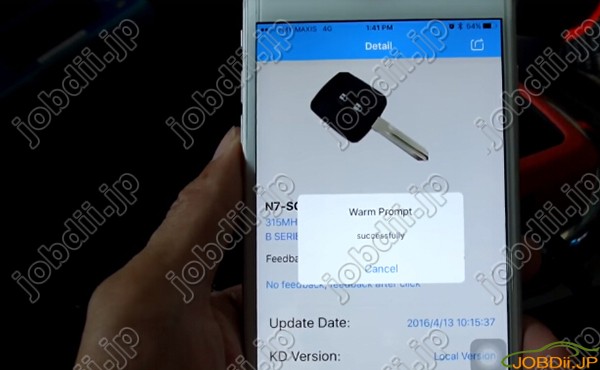
リモート生成:
結果:成功!
テスト:完璧に動作することが確認されました!
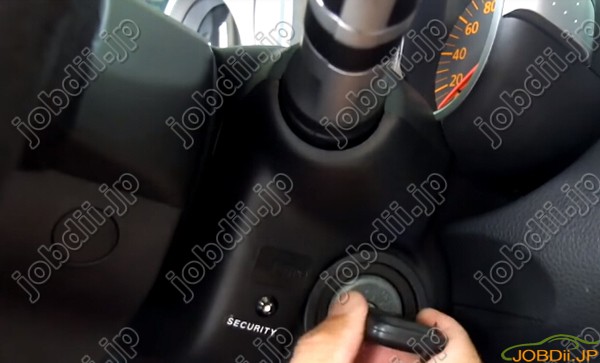
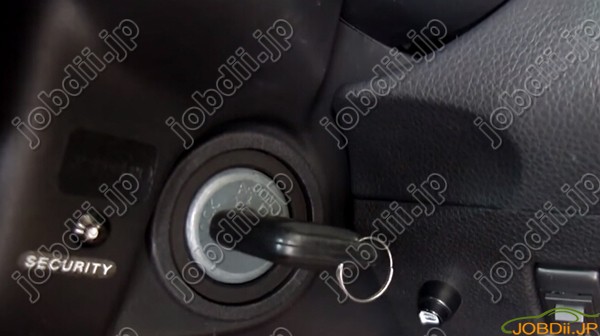

仕事は終わった! 成功!
鍵の書き換えツール
車:日産フェアレディ350Z
オートキープログラマ:KD900 +モバイルKEYDIYリモートメーカ
ソース:http://www.jobdii.jp/wholesale/keydiy-kd900-plus-remote-maker.html
接続:チップをKD900デバイスに接続します。
KD900 +ソフトウェア:Mobile KD KEYDIY
車のオプション:日産
リモートコントロール:N7-SQUARE 315MHz Bシリーズ
リモート生成:
結果:成功!
テスト:完璧に動作することが確認されました!
仕事は終わった! 成功!
鍵の書き換えツール


